Banner_Blue.jpg

prey-logo_01.jpg


Modern Classic...

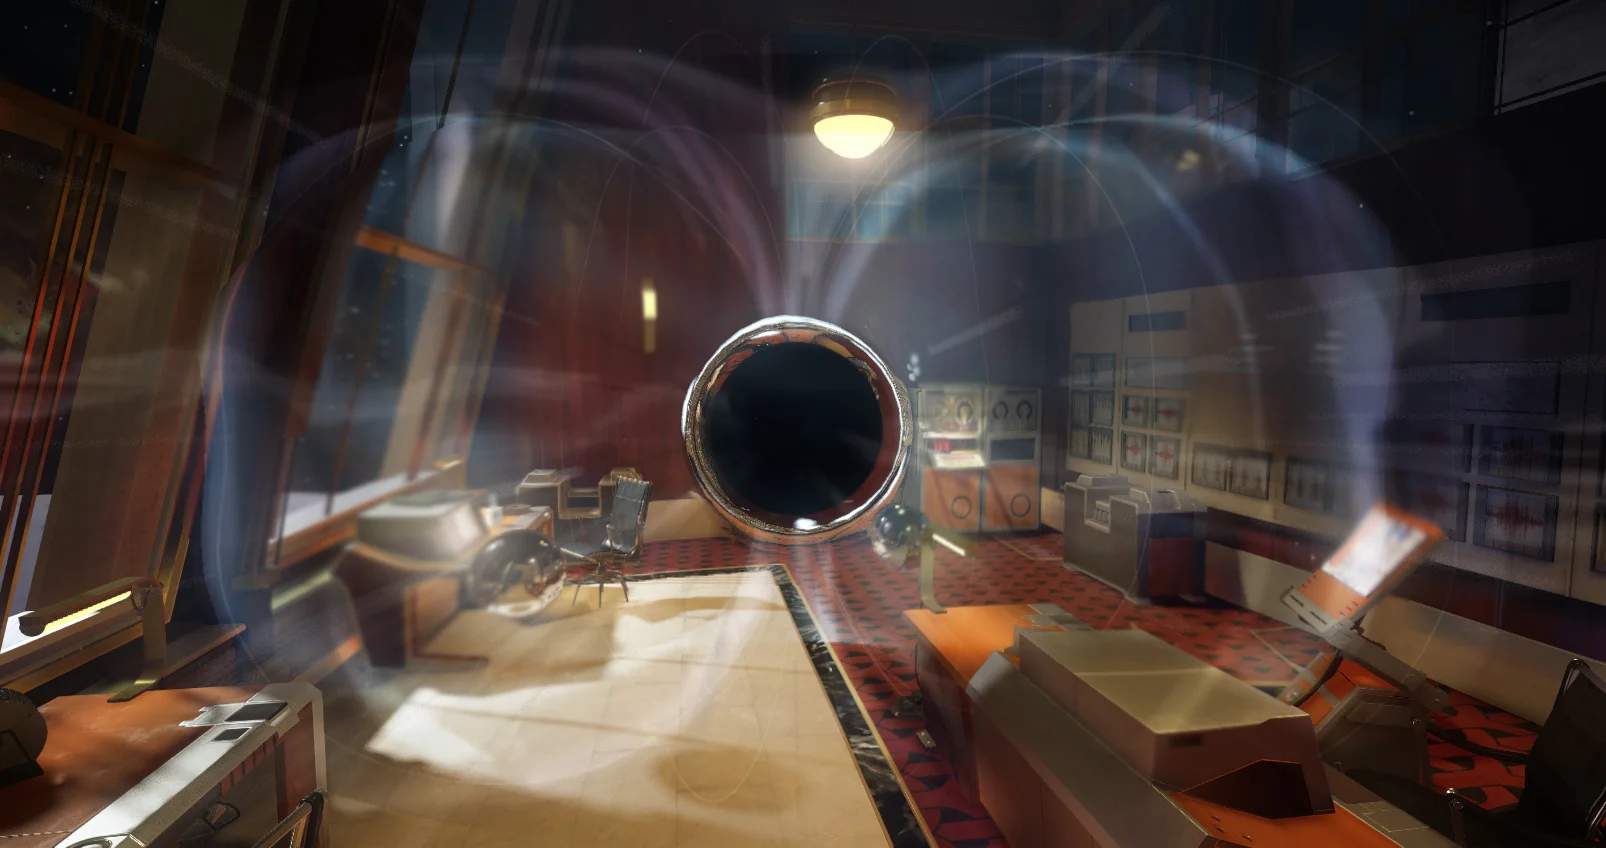
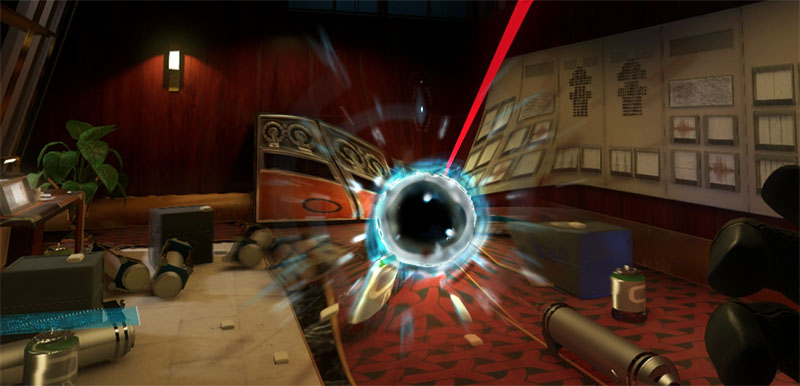
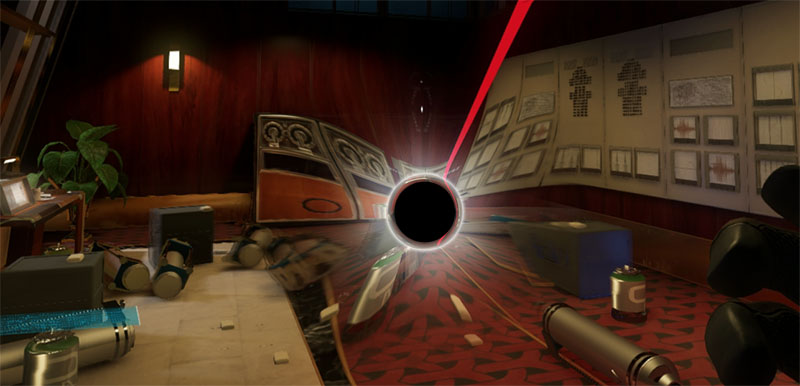
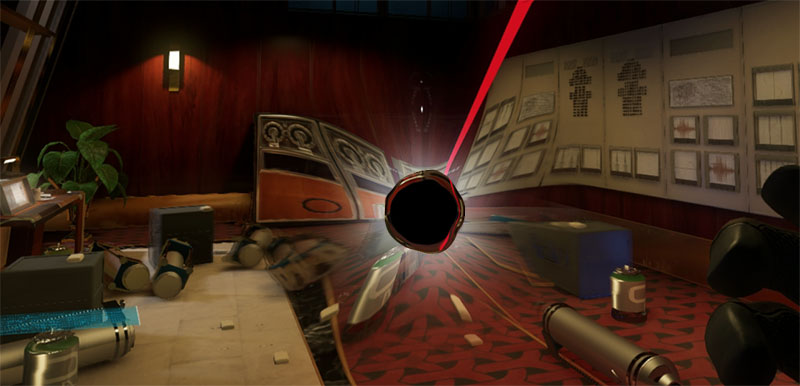
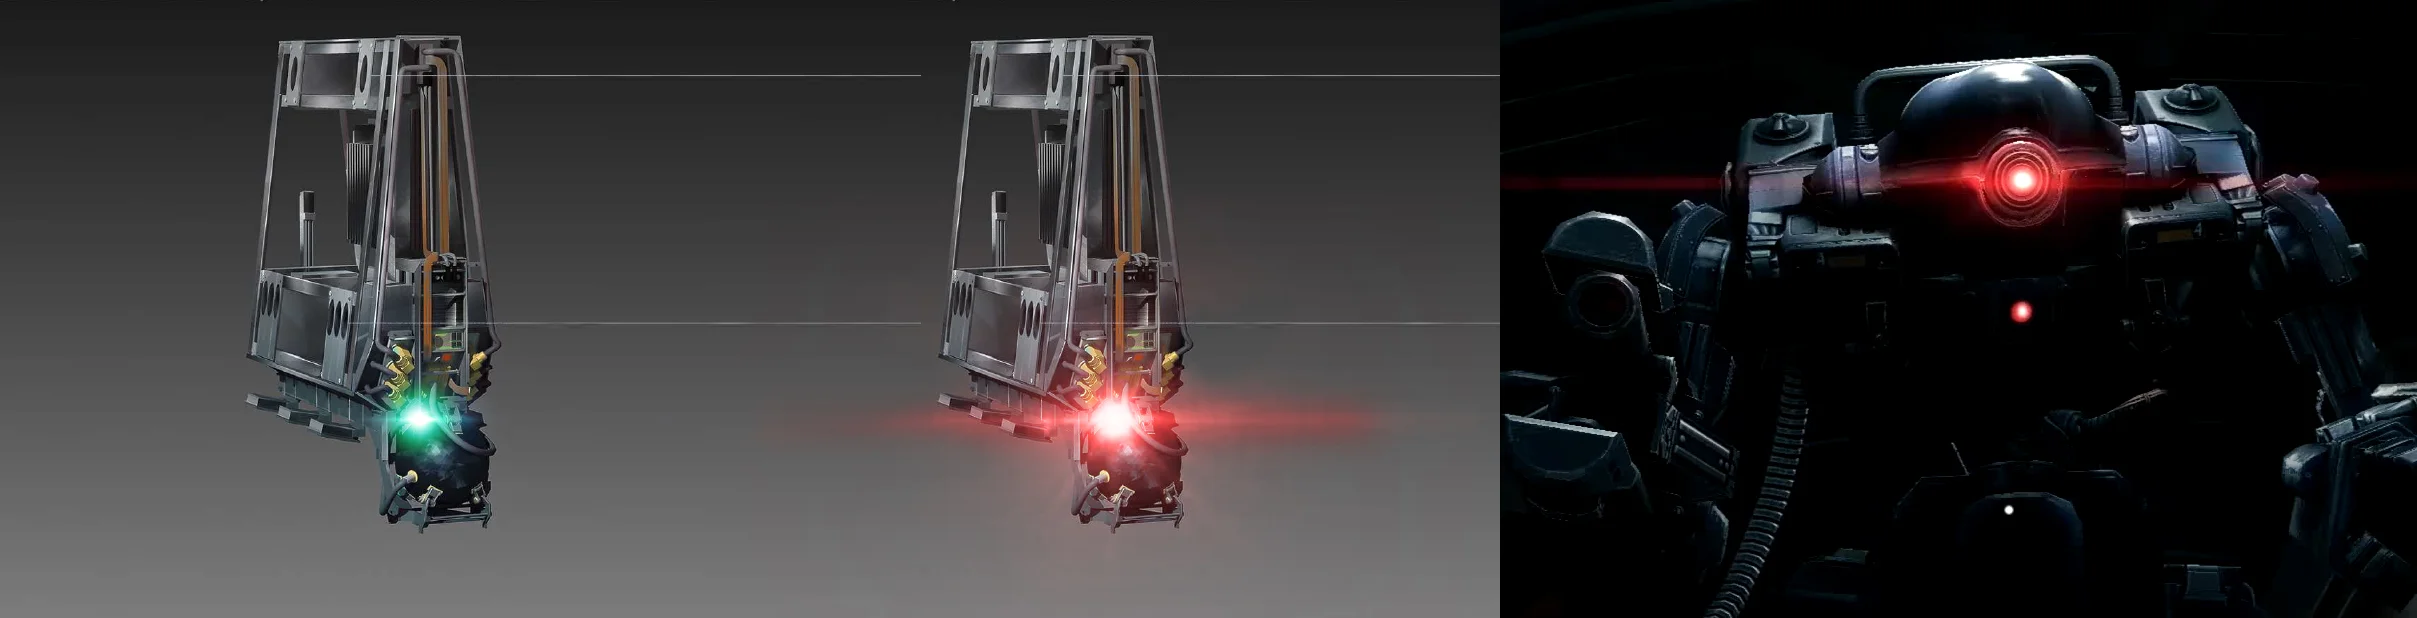
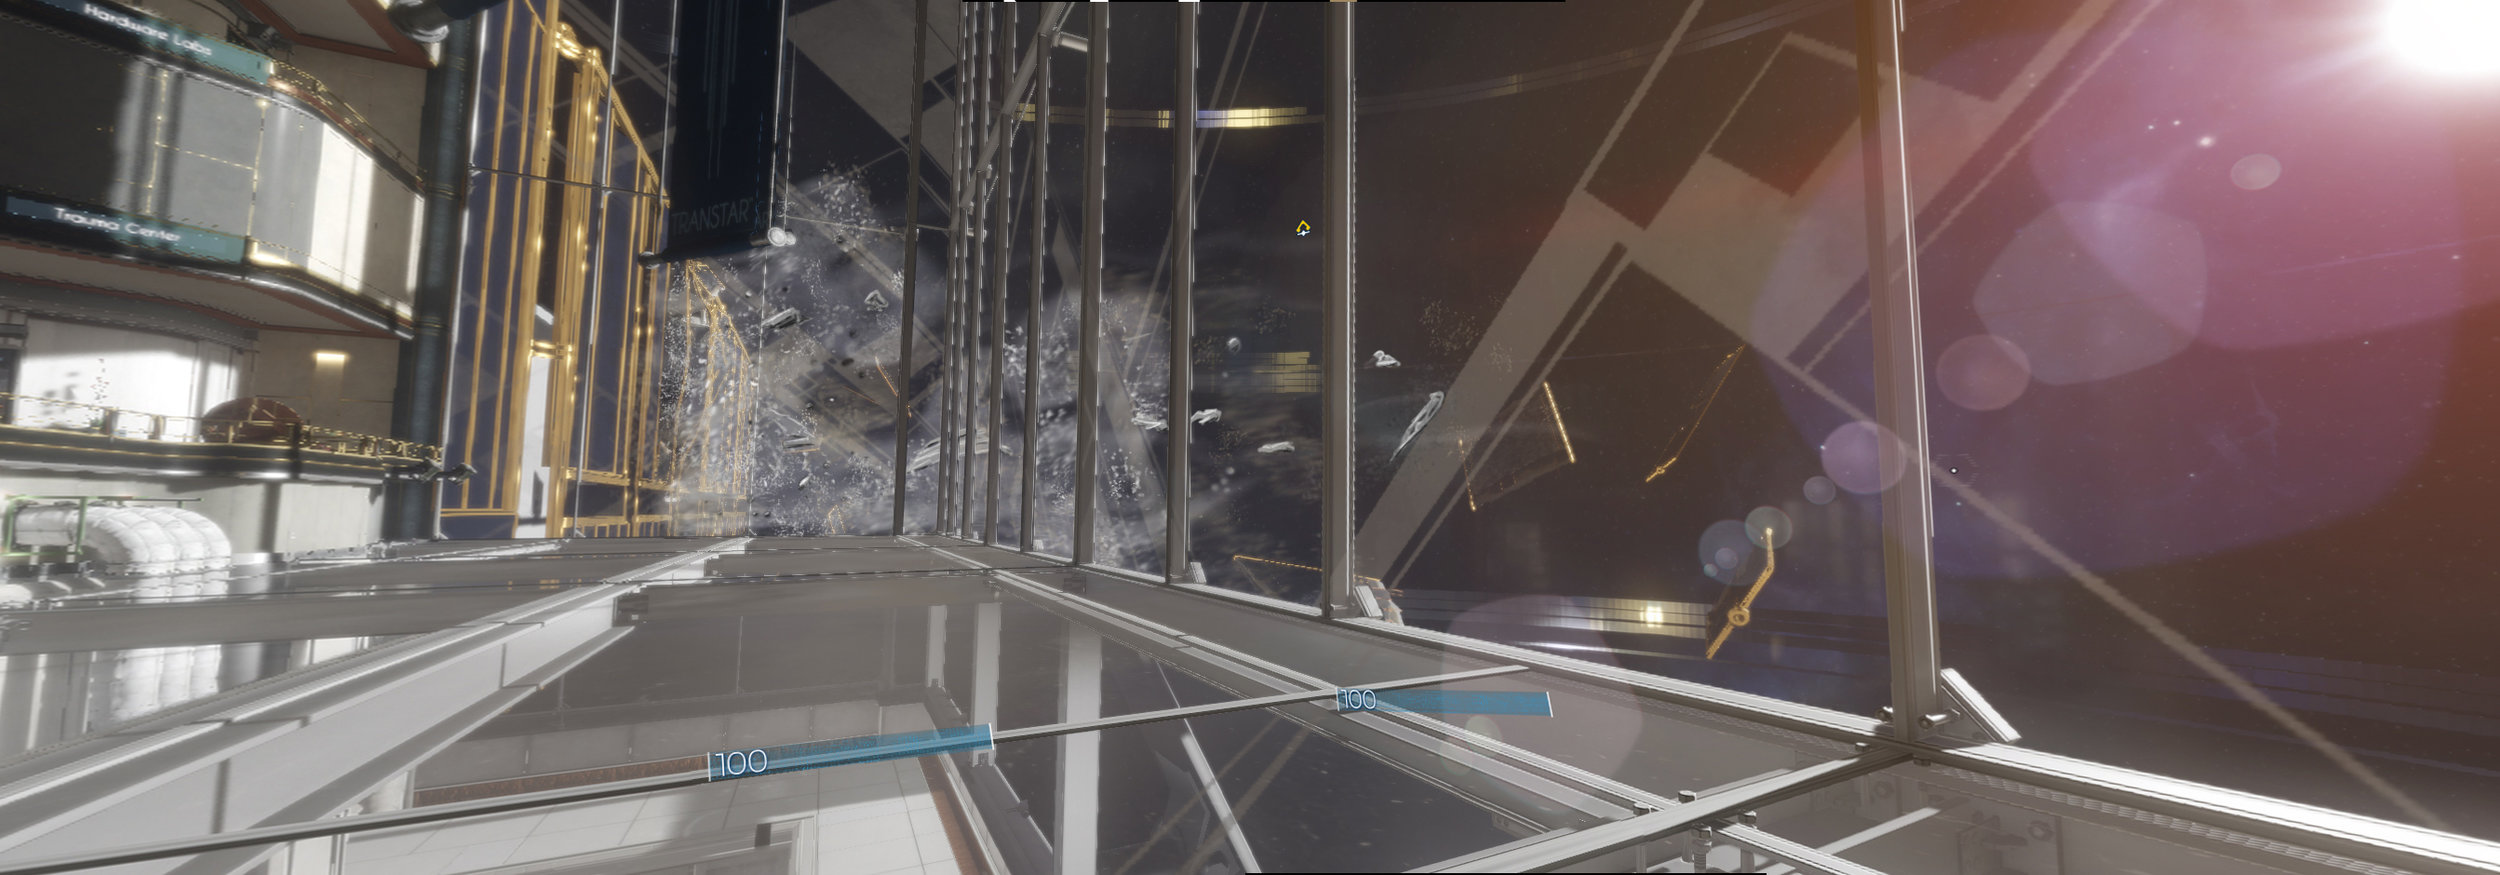
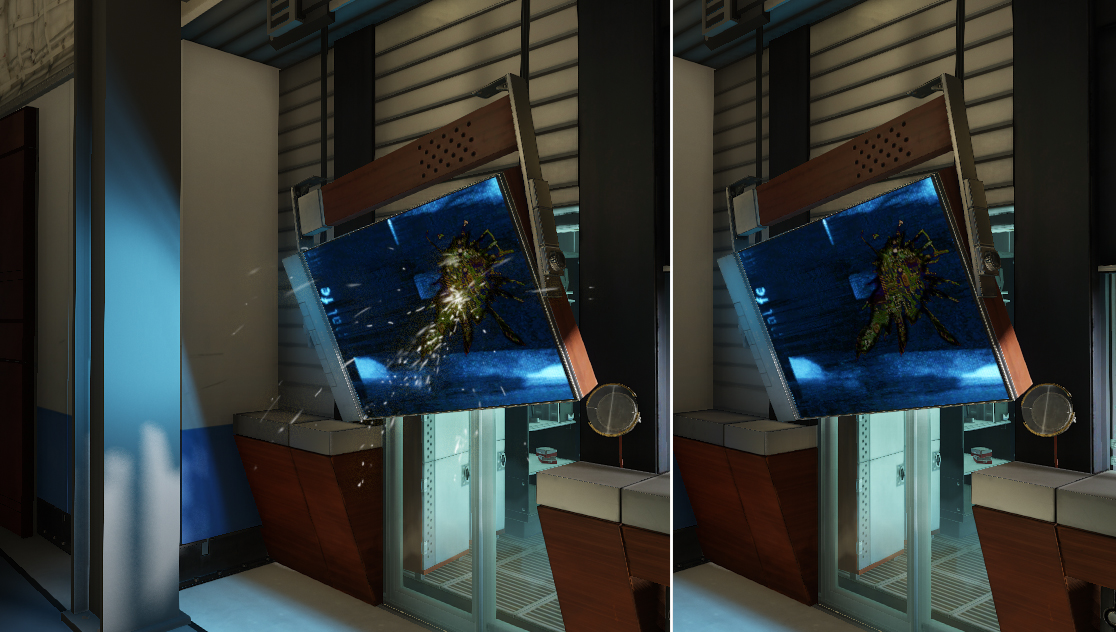
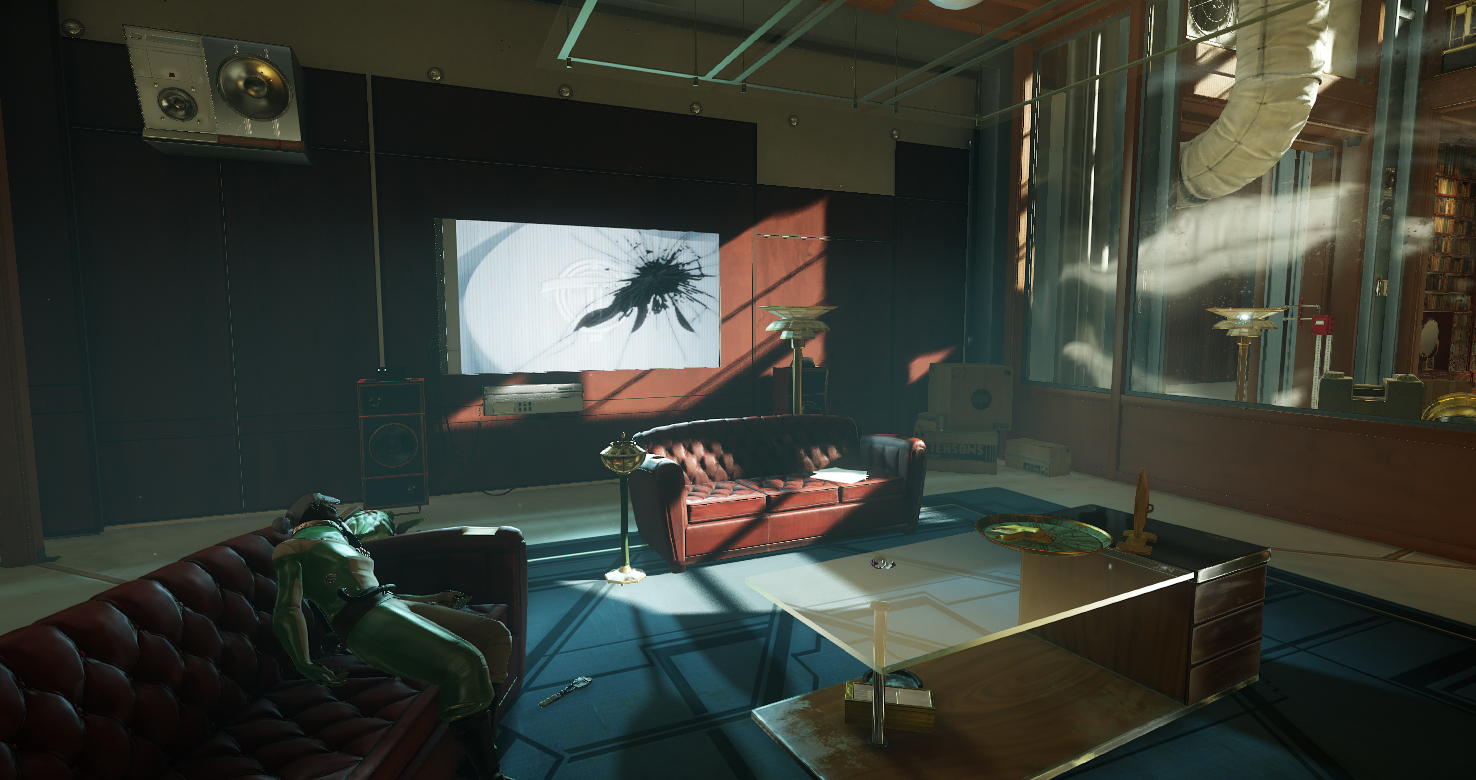
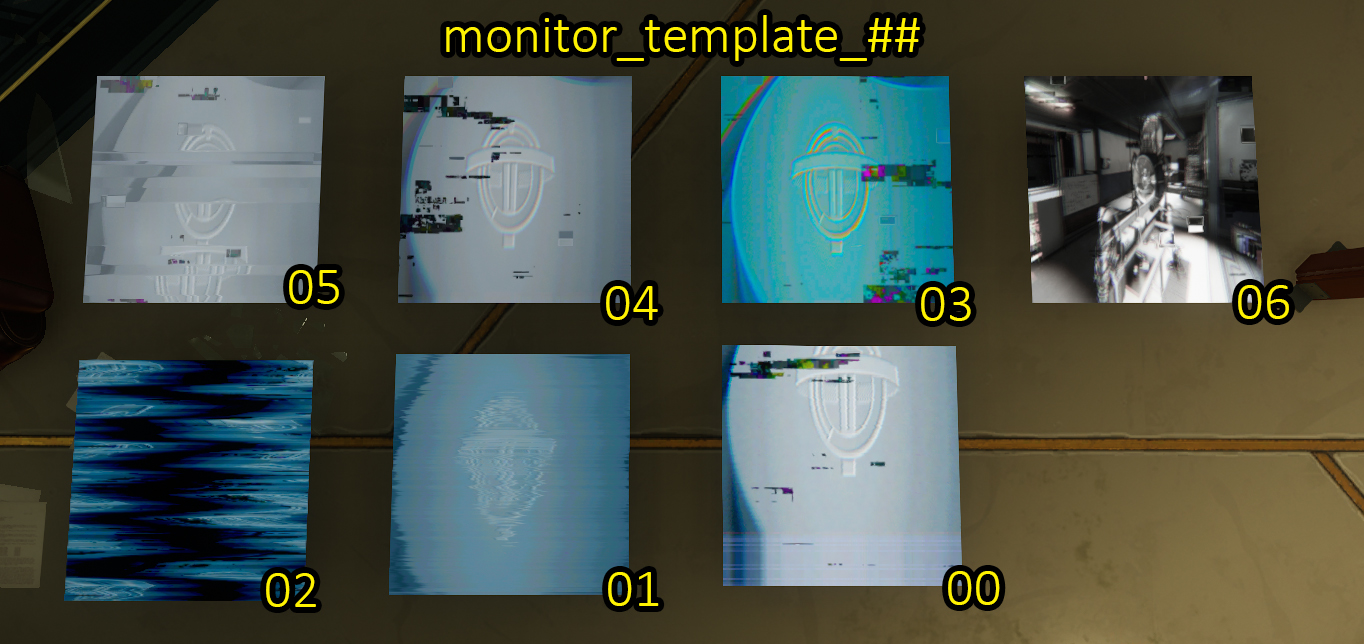
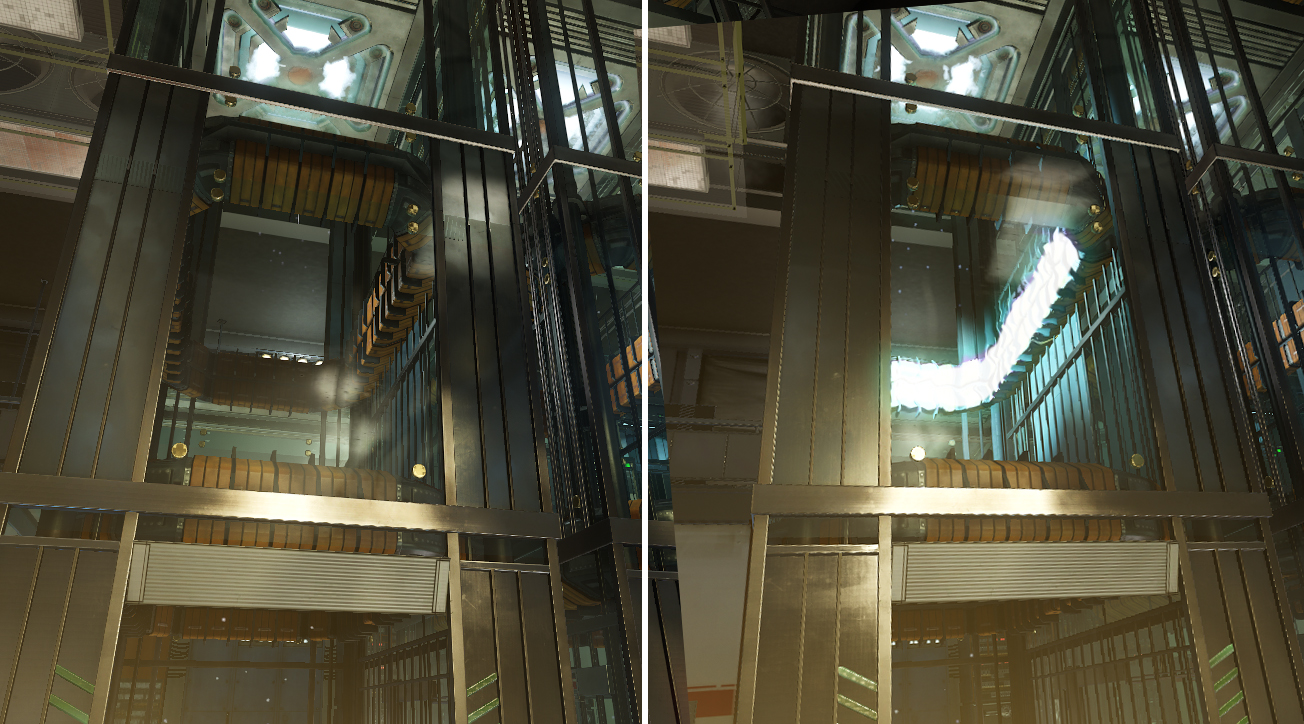
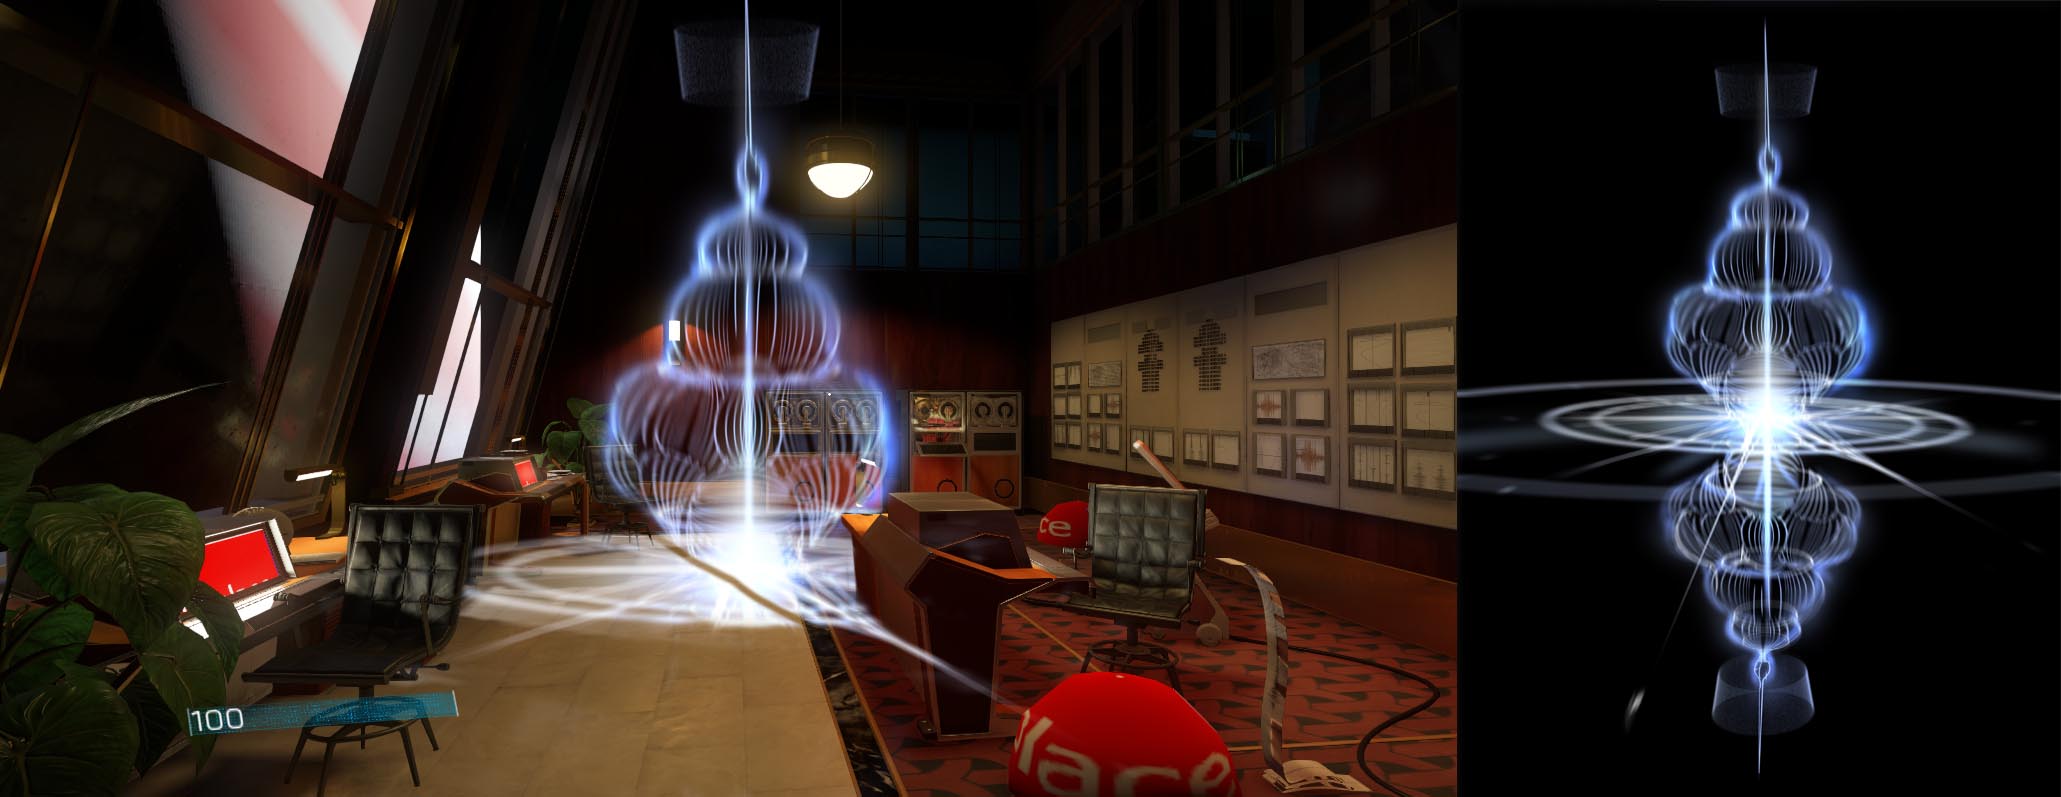
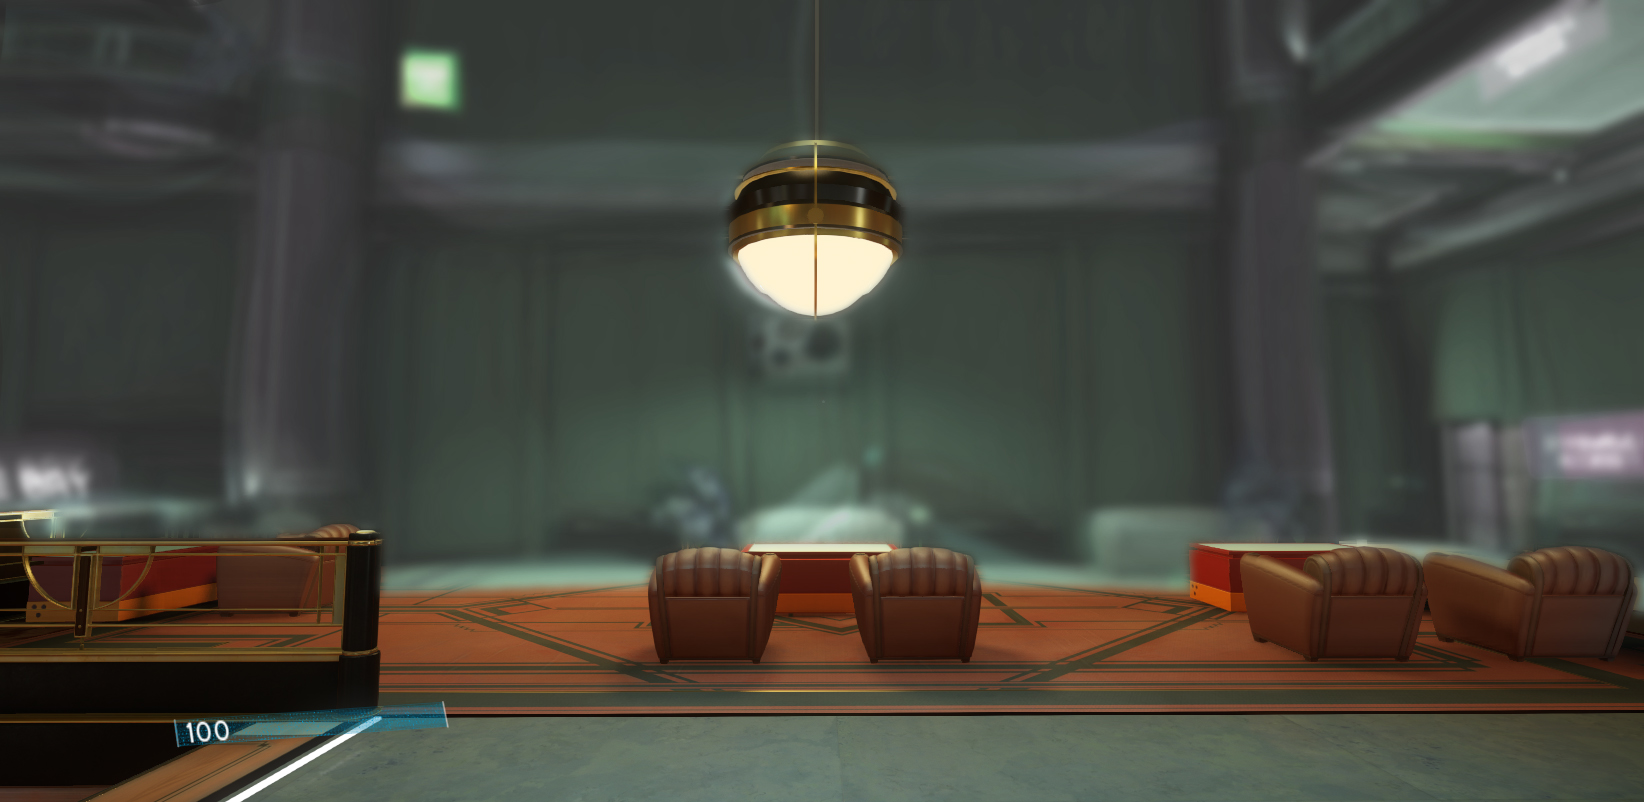
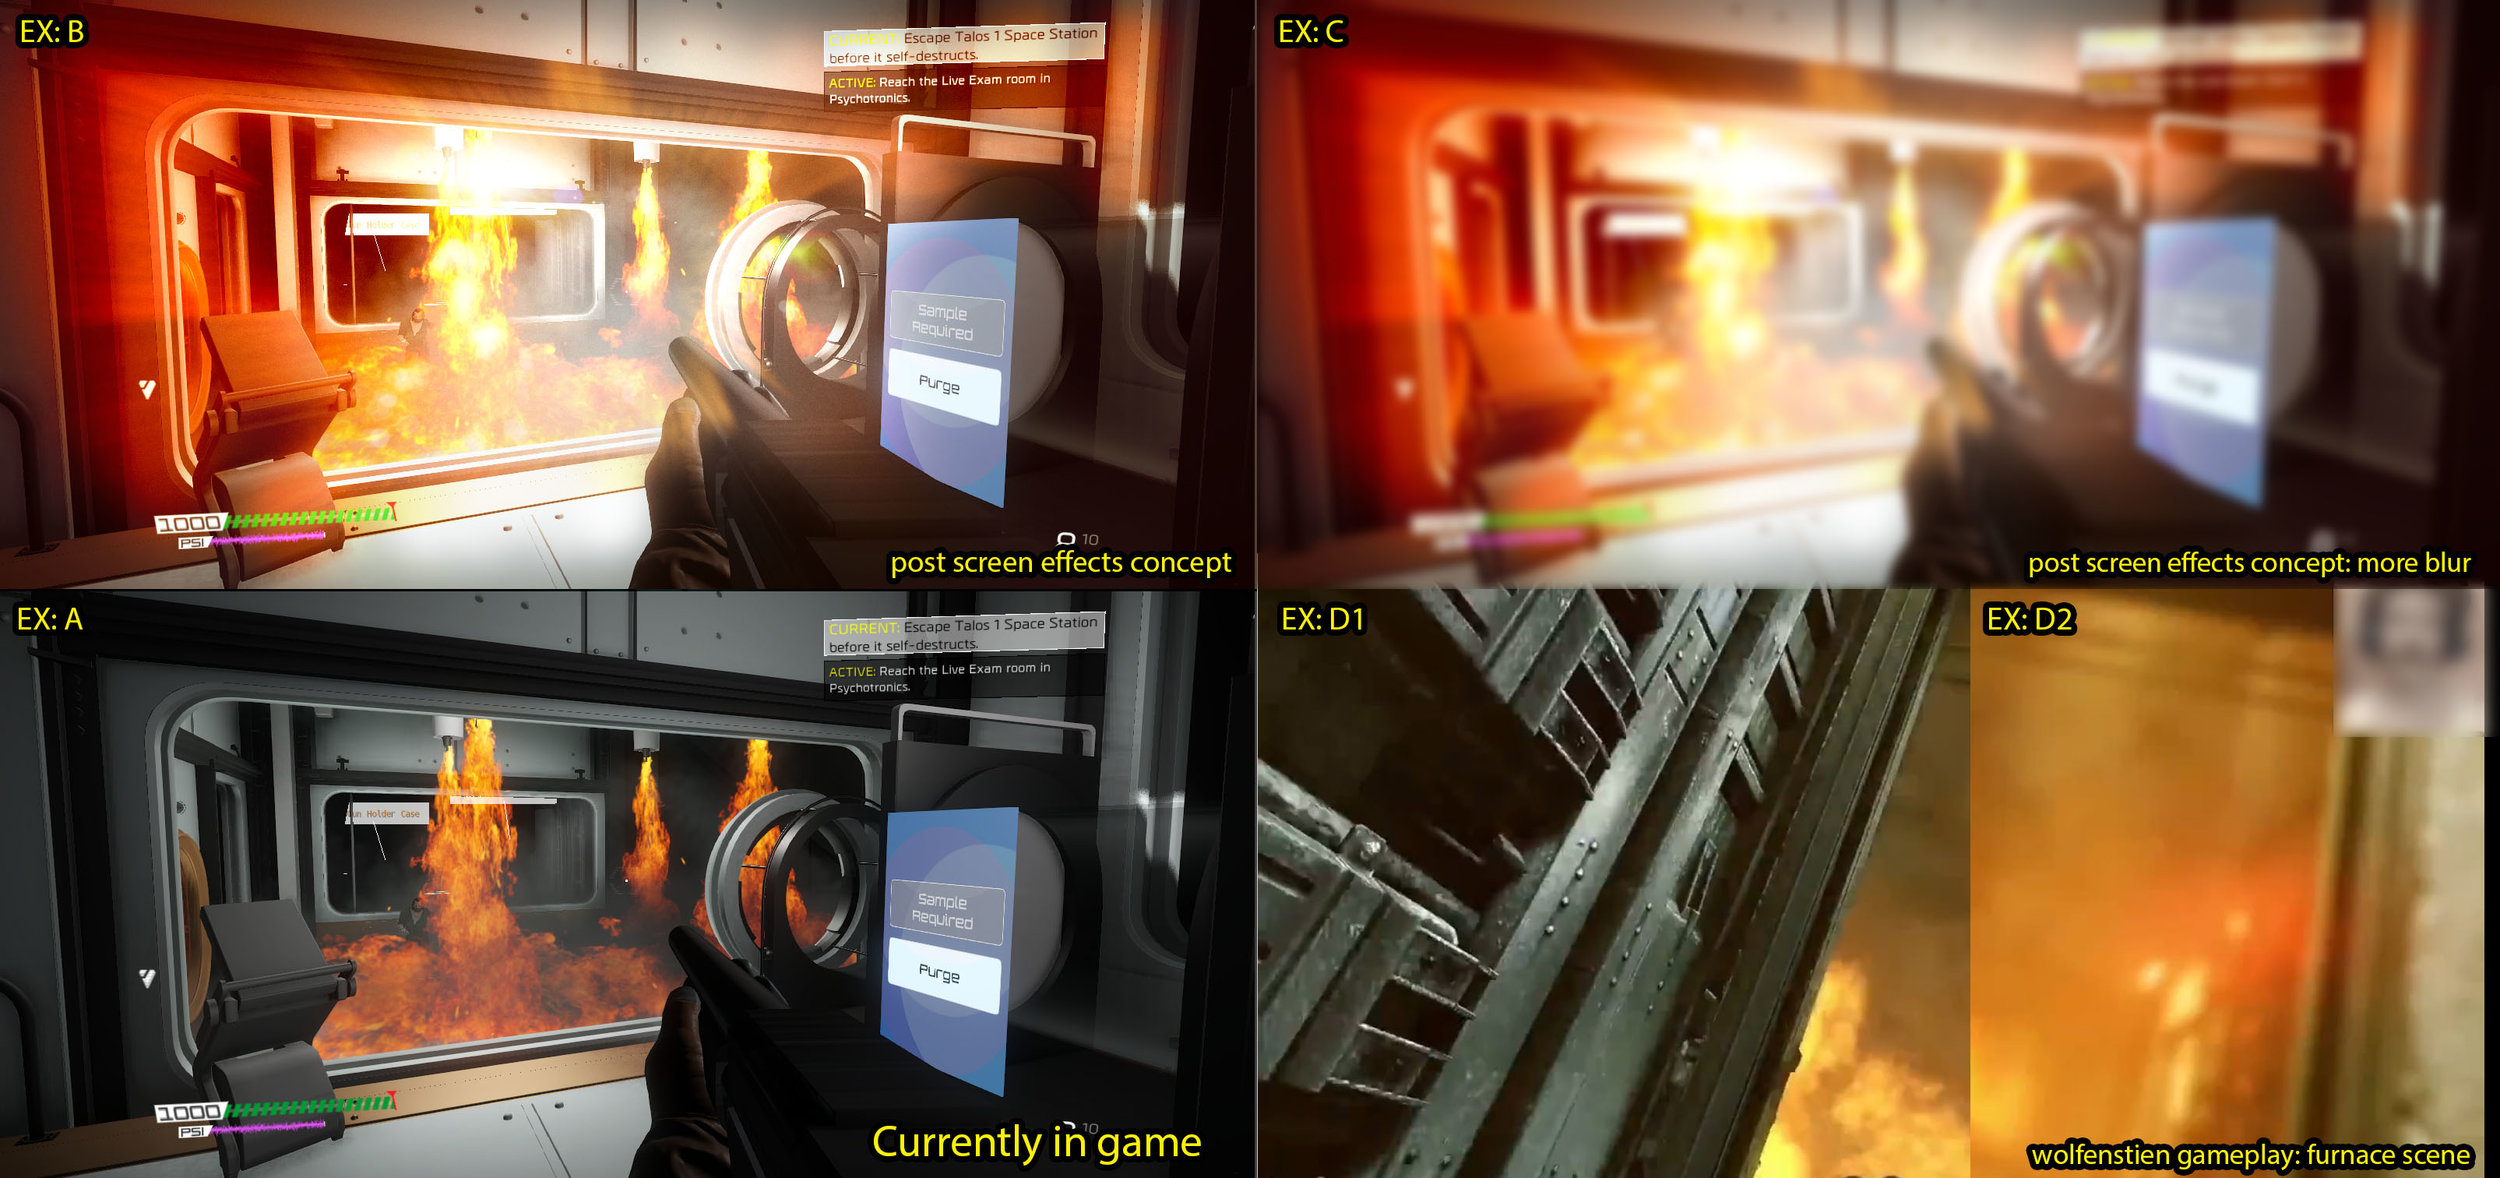
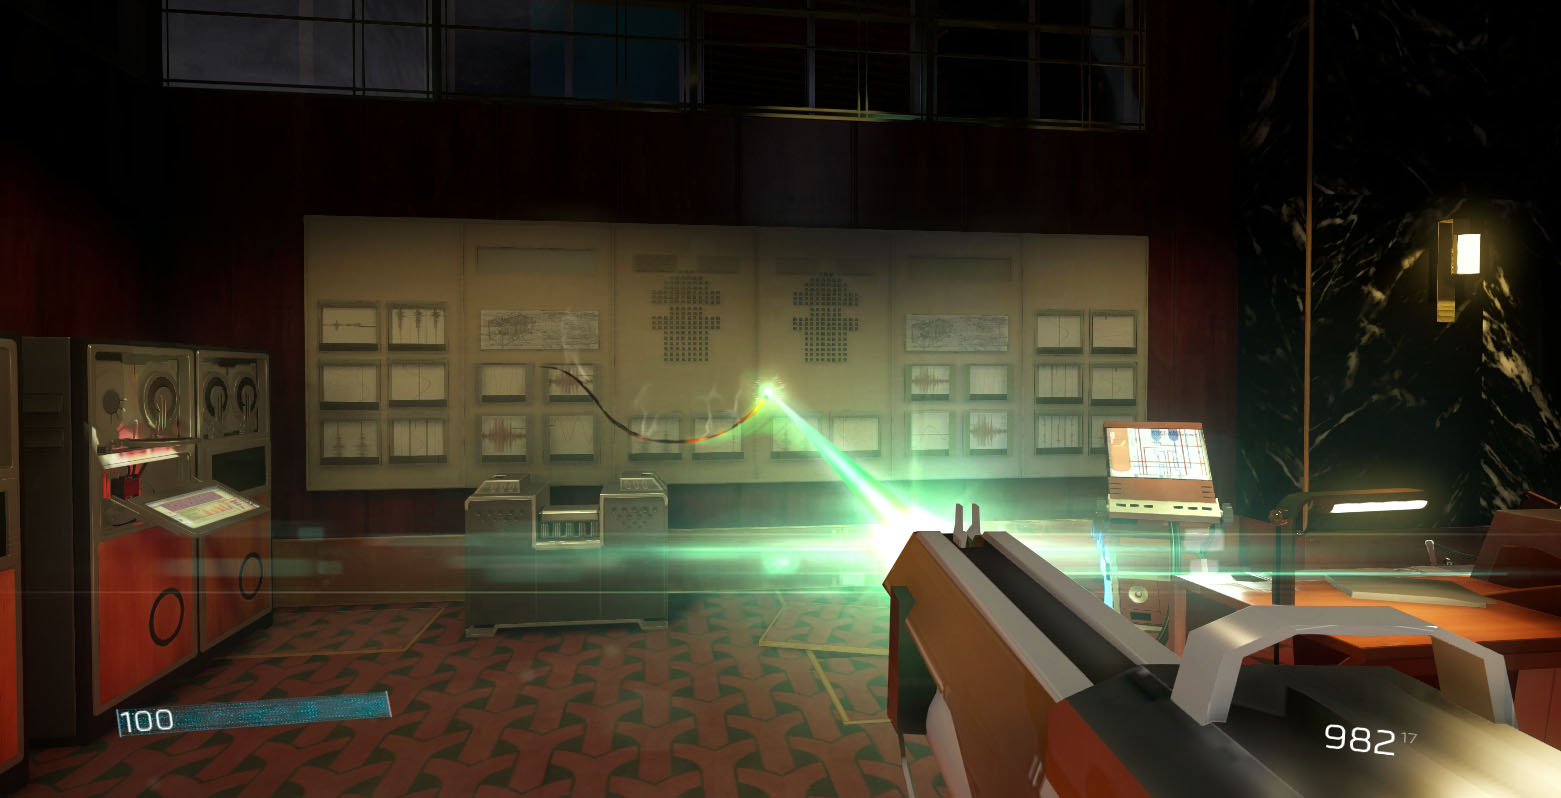
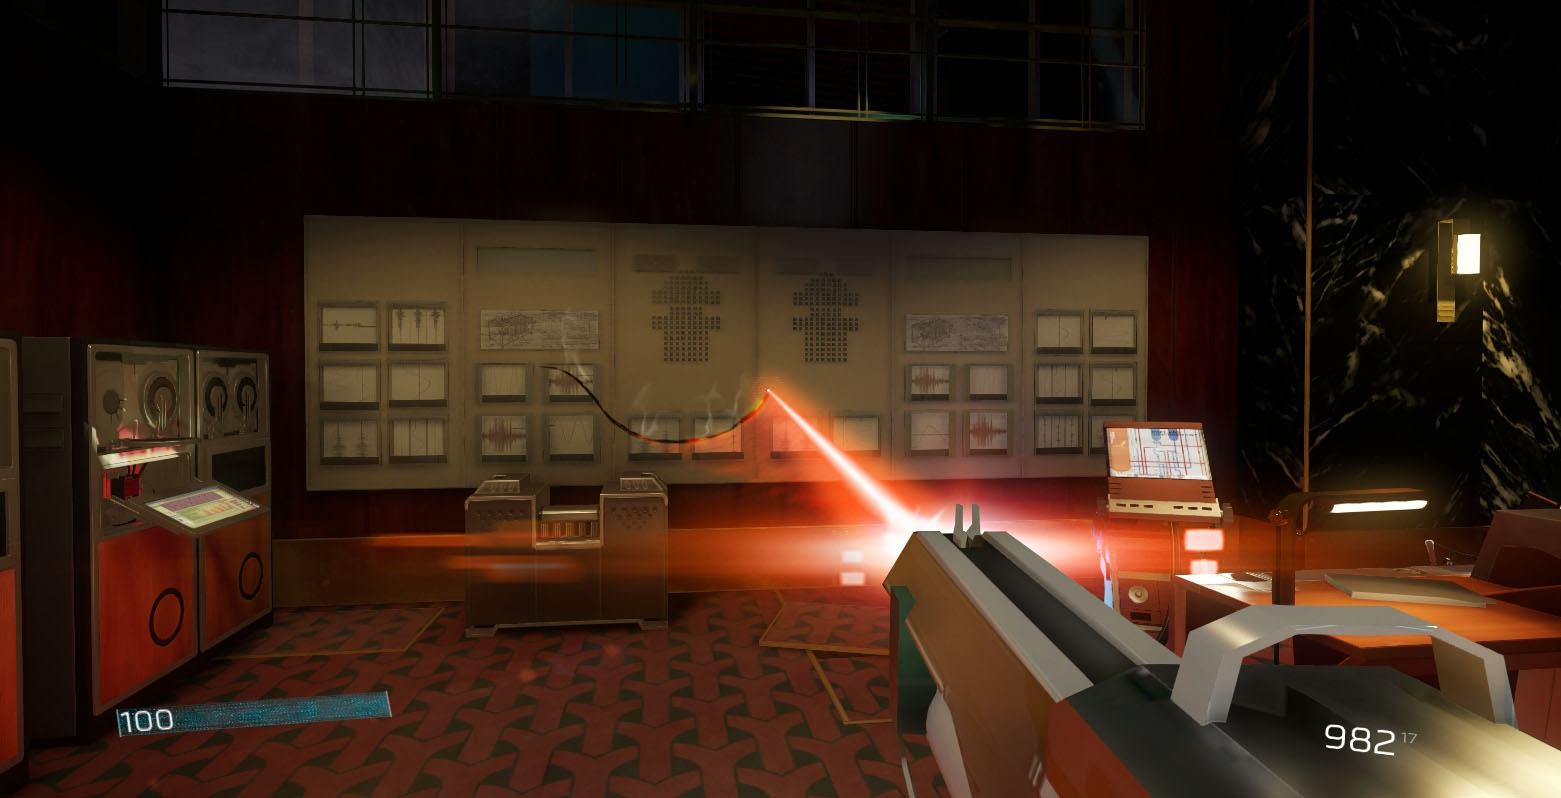
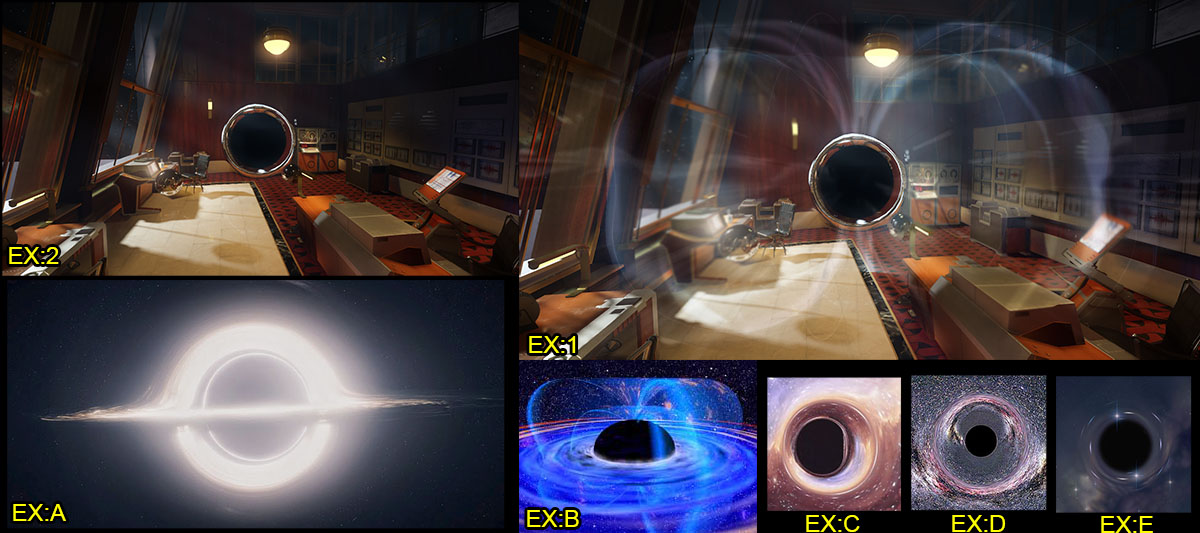
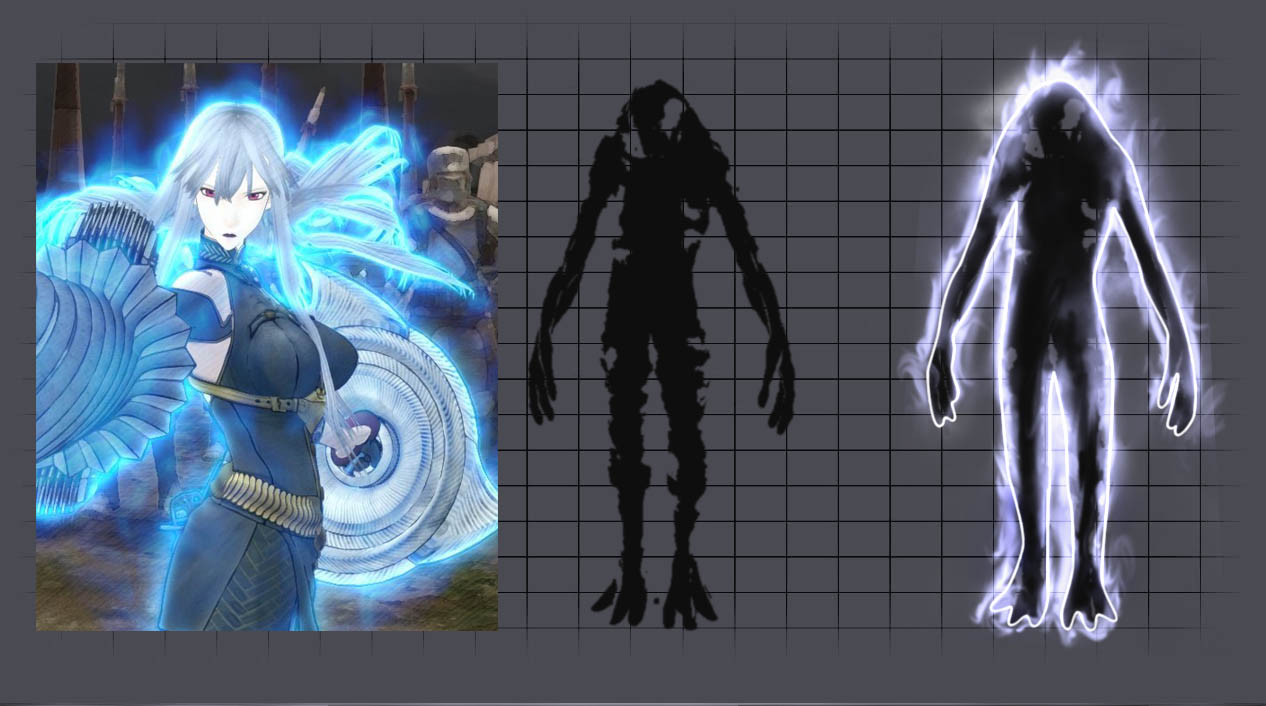
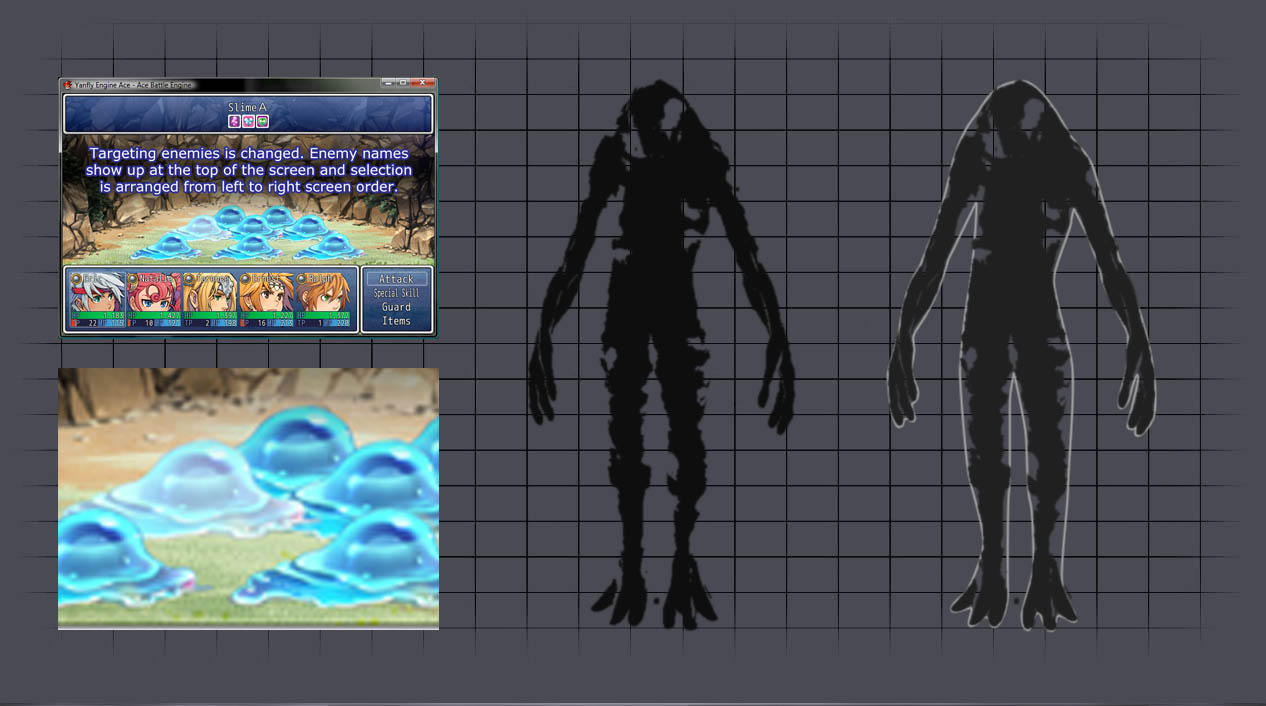
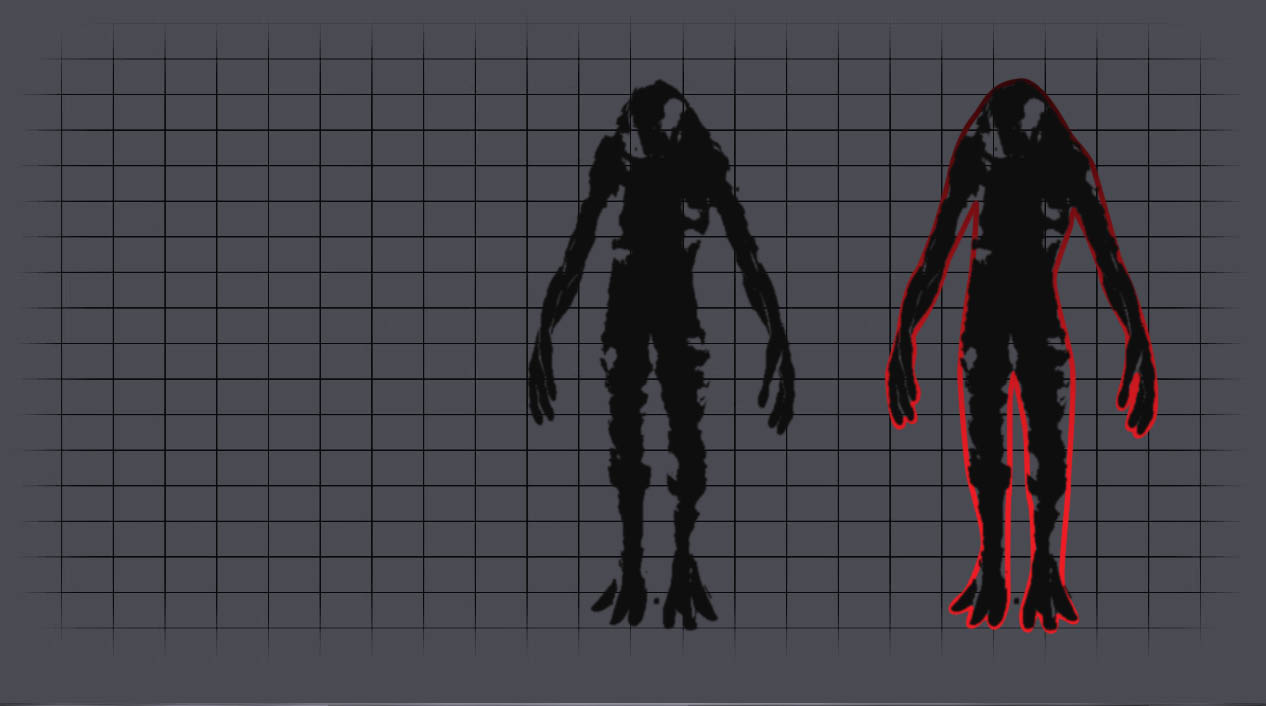
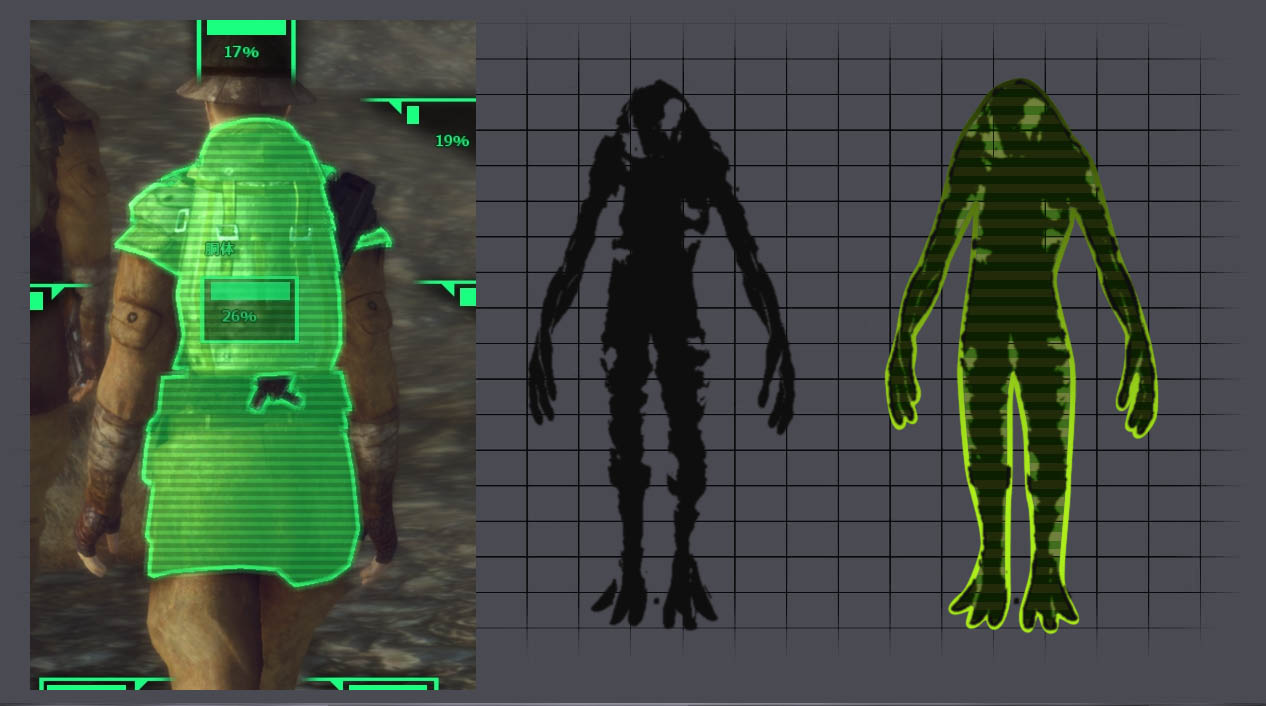
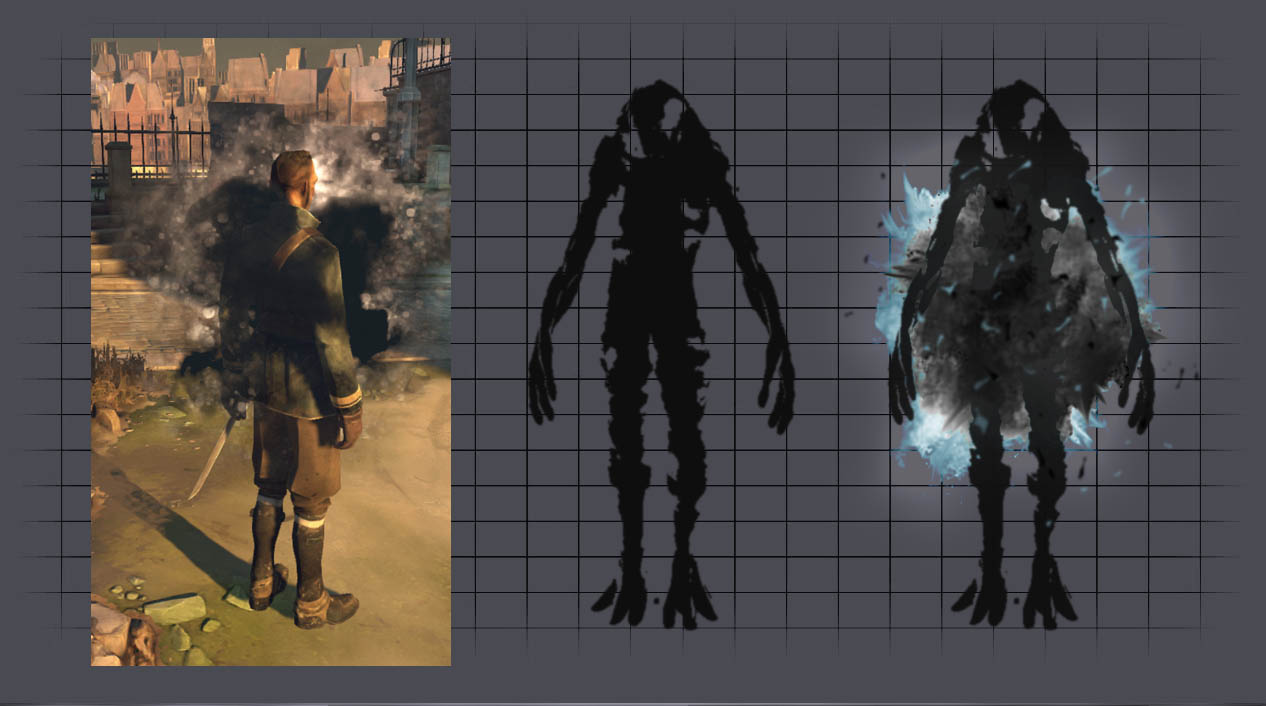
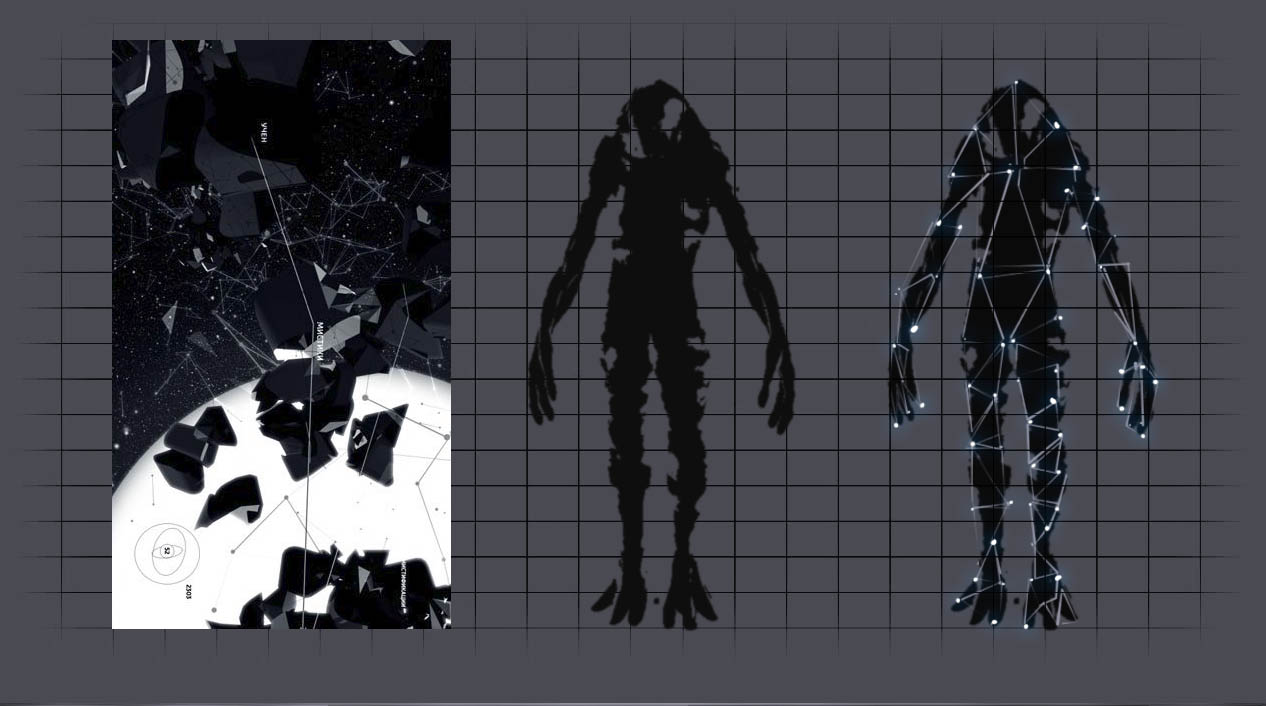
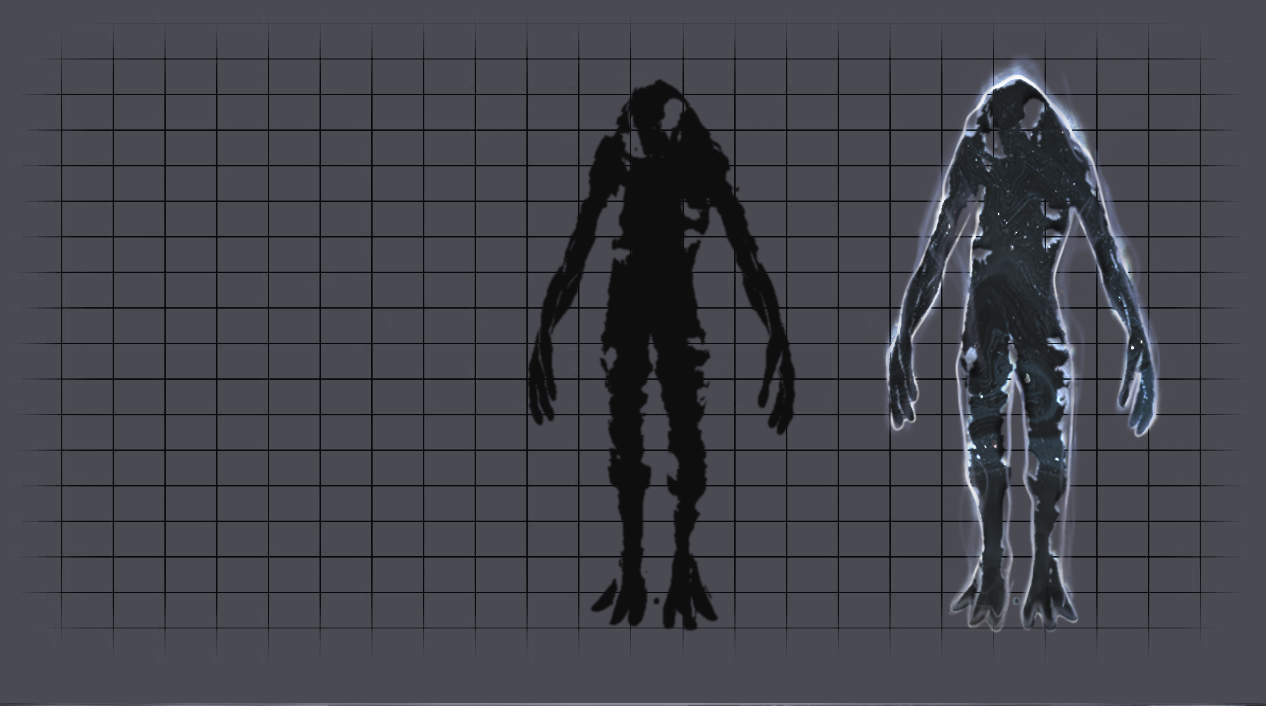
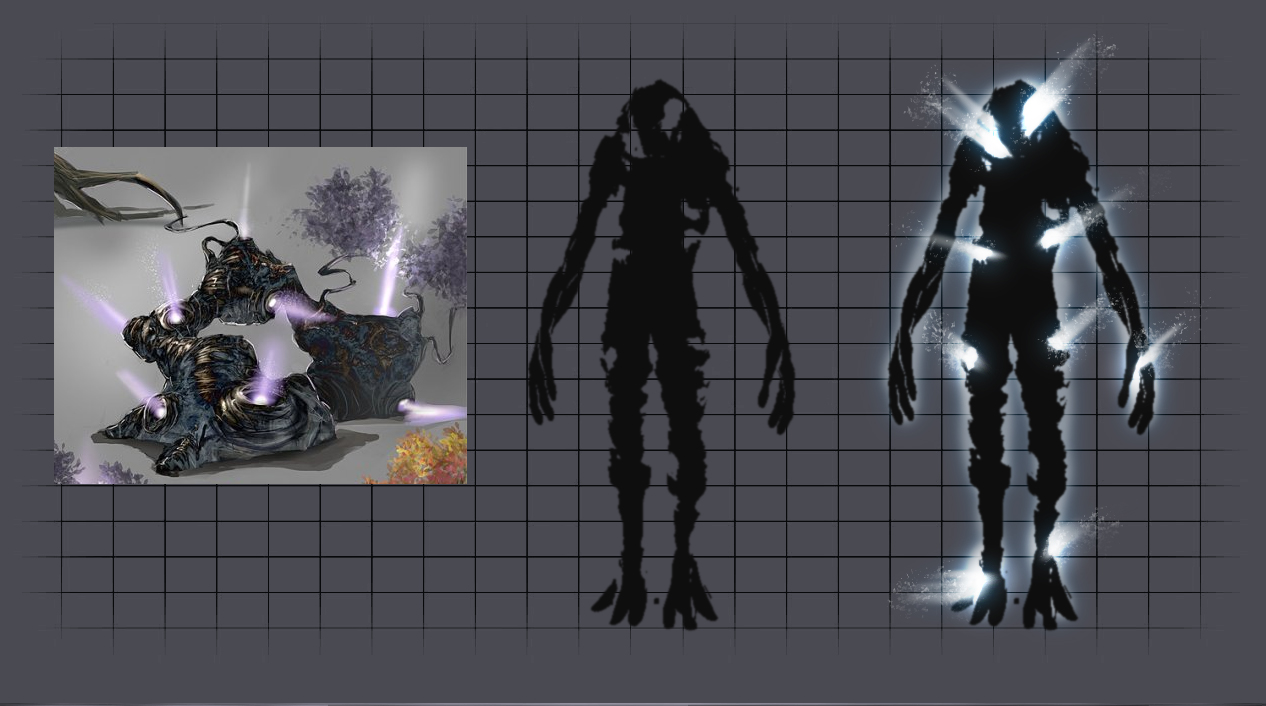
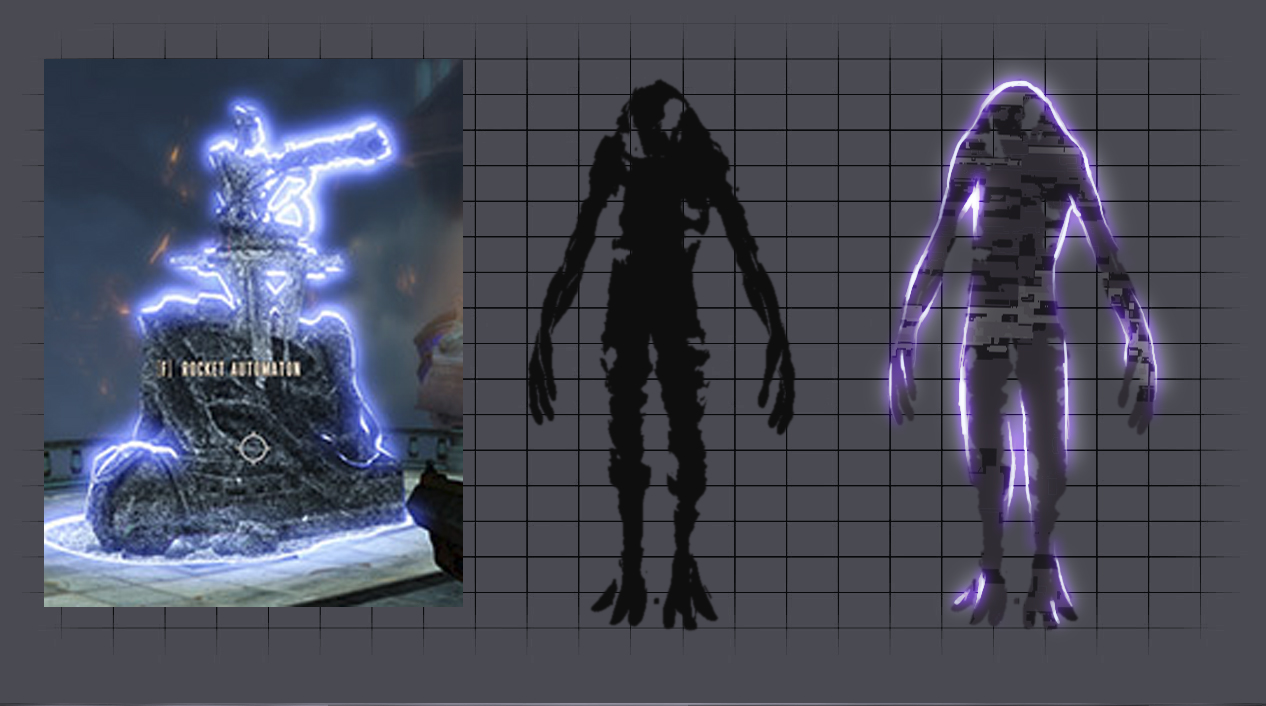
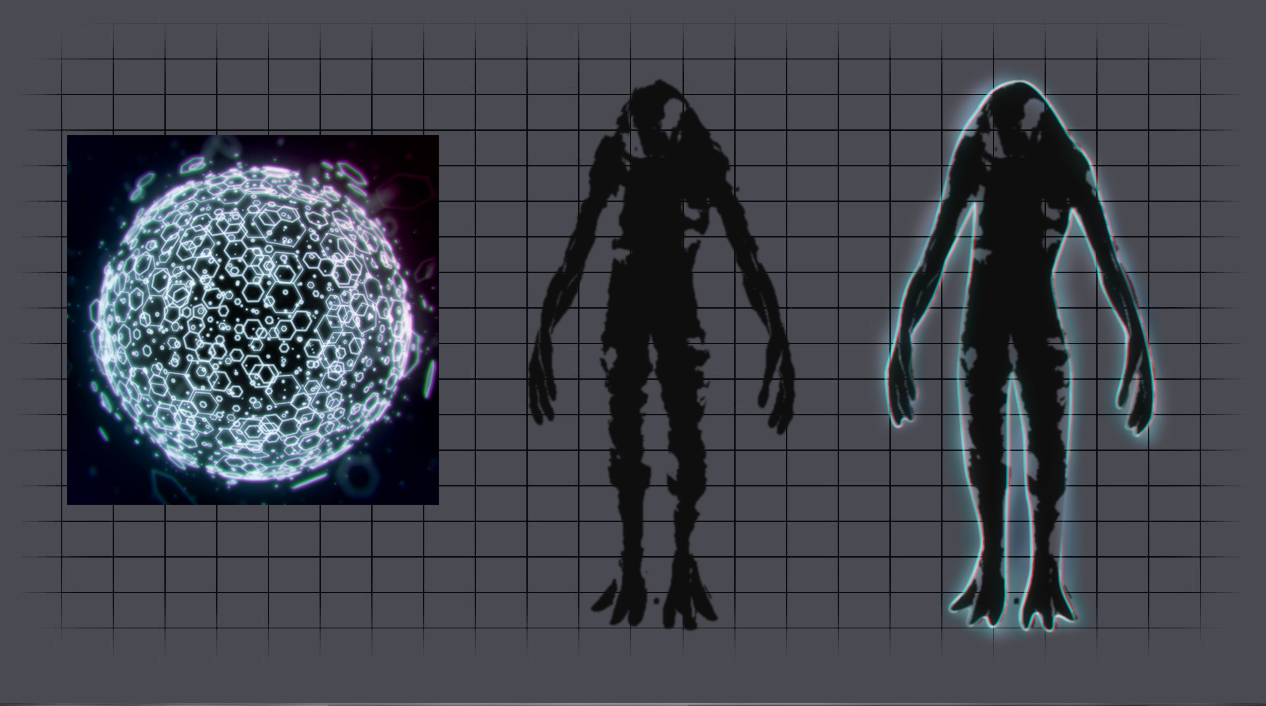
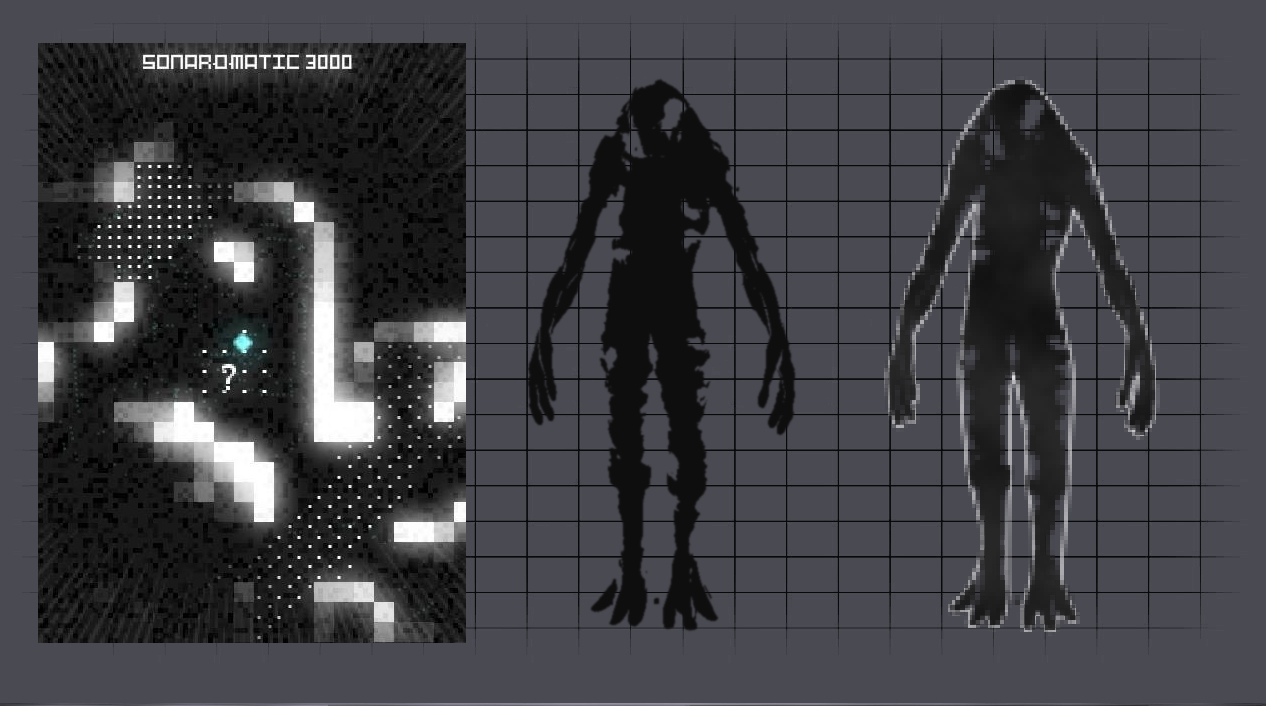
I Worked heavily with the Art/Design/Tools teams to created visual effects and improve tools in the engine. Other duties included miscellaneous graphic design work and video editing for game content, as well as studio promotional uses. 


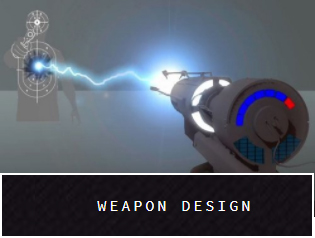
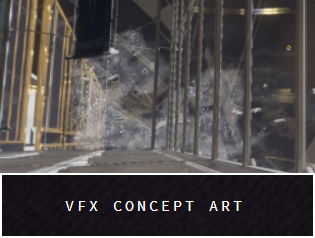
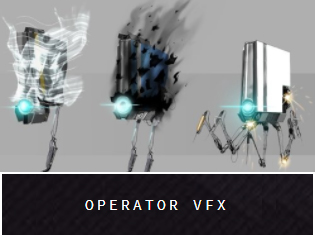
Click on the banners below to navigate to other samples of my work on Prey. 


Examples of my work can be seen in the gameplay trailer linked below. 

PreyBanner_01.jpg

WEAPON DESIGN

The Gloo Gun

One of the major assets I worked on during Prey was the design and implementation of the Gloo Gun. While I did work with a design gameplay engineer, the completed look was largely attributed to the work I had done in R&D for this weapon. 


Linked below is a video of the progression of the Gloo Gun, that took nearly three years to complete. The initial design was to have it look or function like silly string coming out of the gun, but we found that too difficult to achieve a good visual. Using CryEngines particle editor, I was able to create a version that was more like a fire hose, and then smaller single shot projectiles which we decided ended up using. 


How does it work?

When first developing the Gloo Gun, the original design was to have a continues beam of liquid be able to continuously create a stream of gloo balls that the player could use to transverse the environment or lock characters into a frozen state.  While the designers and engineers had a working prototype of mesh geometry sticking to the walls, visually it was very "poppy" and didn't look appealing. My proposed idea was to combine particle effects and secondary geometry to give the illusion of growth when scaling up the gloo balls.

These images bellow were part of visual breakdown, so I could better illustrates  to the designers and engineers on what we would have to do to achieve the visuals of gloo growing on surfaces. 

This panel is an example of the different visuals we would need to pull off the effect. 

This panel is an example of the different visuals we would need to pull off the effect. 

Here we're showing off the main geometry spheres that provide the collision for players to collide with. Enabling them to stand on the gloo balls. 

Here we're showing off the main geometry spheres that provide the collision for players to collide with. Enabling them to stand on the gloo balls. 

The Idea of "Blending" particle was to hide the "Main" geo sphere. These particle would grow and shrink away, revealing the Main sphere.  

The Idea of "Blending" particle was to hide the "Main" geo sphere. These particle would grow and shrink away, revealing the Main sphere.  

Design also had a functionality in which if the player held on a static position, while still firing, that the gloo balls would "island" out to create a large are patch of gloo. 

Design also had a functionality in which if the player held on a static position, while still firing, that the gloo balls would "island" out to create a large are patch of gloo. 

The additive spheres work in the same way as the Blending spheres, but they would only get called when an islanding chain would appear.

The additive spheres work in the same way as the Blending spheres, but they would only get called when an islanding chain would appear.

Additive spheres working from a static position.

Additive spheres working from a static position.

This displays is with all pieces function together moving in a direction.

This displays is with all pieces function together moving in a direction.

And this is an example of the static islanding happening with all parts.

And this is an example of the static islanding happening with all parts.

These examples are similar to the ones listed above, but what we ended up finding out was that we shouldn't think of this system being simply planar, like on the ground, but more like on a string. 

These examples are similar to the ones listed above, but what we ended up finding out was that we shouldn't think of this system being simply planar, like on the ground, but more like on a string. 

Concept work of what the gloo might look like with all components. 

Concept work of what the gloo might look like with all components. 

Trying to illustrate the concept of displaying on a string, as apposed to a flat surface. 

Trying to illustrate the concept of displaying on a string, as apposed to a flat surface. 

3D render of planar and string rendering.

3D render of planar and string rendering.

Trying to increase the volumetric look of the string rendering. 

Trying to increase the volumetric look of the string rendering. 

Renders of a wide to narrow particle rendering band. 

Renders of a wide to narrow particle rendering band. 


Non-Technical features...

For the visual look of the Gloo Gun, we had spent a lot of time looking at expanding foam, bubbles and liquids. Here are a few images that we had used in concepting the visuals.  

One of the original ideas was to transition the Gloo Balls from a soft liquid state to a hardened shape. We found that we really likes the look of these crystal rocks and tried to recreate the looks when morphing into the hardened shape.  

One of the original ideas was to transition the Gloo Balls from a soft liquid state to a hardened shape. We found that we really likes the look of these crystal rocks and tried to recreate the looks when morphing into the hardened shape.  

This was an early test I had done in creating a blending material map that would use a baked deformation map to make it look like the crystal structure was extruding from the original soft shape. I modeled the two objects from a cloned sphere, so th…

This was an early test I had done in creating a blending material map that would use a baked deformation map to make it look like the crystal structure was extruding from the original soft shape. I modeled the two objects from a cloned sphere, so they would share similar UV maps, and then baked out their height map information using X Normals. While we loved the look, the tesselation cost for the amount of objects being spawned, we just couldn't afford the cost. 

This was some concept work I had done to figure out what these Gloo Balls might look like on the inside, as it was a design request that the player be able to break the Gloo Balls. While not shown on this page, it should be known that creating the b…

This was some concept work I had done to figure out what these Gloo Balls might look like on the inside, as it was a design request that the player be able to break the Gloo Balls. While not shown on this page, it should be known that creating the breaking effects for this object was a very large hurtle to overcome. Mainly for performance reasoning. 

Eventually the VFX team got support from of modeling staff and they created these final assets. Note, these final models were not created by me, but I did have a hand in overseeing their production to completion. 

Eventually the VFX team got support from of modeling staff and they created these final assets. Note, these final models were not created by me, but I did have a hand in overseeing their production to completion. 


The Stun Gun...

The "Stun Gun" was another weapon that I had a heavy hand in helping with design. We knew that we wanted to build up a charge before firing, and when the trigger was released a large discharge effect to shoot from the muzzle. Using Cryteks lighting system, as well as their particle strength parameters, I knew we'd be able to achieve the visual look easily. 

Above are original concept ideas from the art lead on what the weapon would inevitably look like. 

These are images from a concept video I had made to show the "charging up" effects. The image on the right was concept work for when the gun would malfunction and what that might look like. 


Part of my visual effects duties included working with designers on how weapons would work. Here is a concept video for the stun gun when firing. All this work was done in After Effects to illustrate how the weapon might work. after approval, we transferred the same ideas into the game. 


Here is a quick video of the stun gun in use in the game. 


The Q-Beam

The Q-Beam was one of the first effects I had made in the game, and it provided me with many challenges along the way to get it looking great for final release. 


Very early concept work being done for the Q-Beam. 

Early on, I had done of paint over work in Photoshop on what the look of the Q-Beam might be. I played with different colors/shapes/lensflares to achieve the final result. 

Early on, I had done of paint over work in Photoshop on what the look of the Q-Beam might be. I played with different colors/shapes/lensflares to achieve the final result. 


This is another example of working with multiple members of the team. Towards the end of development, the staff felt like the Q-Beam wasn't impactful enough and wanted to see what we could do about it. I had told them that the effects spawning position from the muzzle of the gun and the targeting position were too close together and that if we increased that distance we would see more of the beam, and that would lend itself to being more impactful. So, as a quick test, as to not take up our weapon modelers/riggers time, I moved the spawning position of the effect and then alpha masked out the front section of the weapon, to give us the distance we needed. Eventually people approved of the changes I had made and then the rest of the team set out to update the model as needed. 

New position on the left, old position on the right. 

New position on the left, old position on the right. 

without the line markers. 

without the line markers. 


I pulled this from YouTube, but it does illustrate the Q-Beam in action. It should be noted that I did not create the green exsplosion effect on the aliens when they die.  


Recycler Grenade

While my original work for the Recycler Grenade didn't ever make it into the game, here are some Photoshop concept renders I had made while trying to create the visuals for its effects.


The original idea was it was a grenade that opened up into a mini black hole. 

The original idea was it was a grenade that opened up into a mini black hole. 

03_Smokey.jpg

click below to go back to Arkane Studios


Operators

Concept paint over, that I had done, to illustrate what an operator that was possessed by an alien might look like.  

Concept paint over, that I had done, to illustrate what an operator that was possessed by an alien might look like.  


Operators are one of the most common NPC's in the game and we needed to telegraph to the player if they were friend or foe. Like most games, we decided not to break with tradition and use common colors like green/blue for friendly, and red for hostile. Early on I had done some concept work on what the lens flares might look like and what color sets we would want to be using. 

From the beginning, e thought that not all operators would have a common default light, so I had added red and orange to the military and engineer operator. The other scientific operators were basically that same model, so they would share a blue color. 


When the player hacked an operator, we wanted the visual to be green. 


And when an operator turned into an enemy, we used the classic red to indicate that it was hostile towards the player. 

Early operator models had clear back casing, which we also thought to utilize in telegraphing to the player its current state.

Eventually we achieved the telegraph visuals by creating attachments that we added to slots in the character tool, and then drove the materials color aparameters through code.  

Testing the visual look of lens flares increasing in size when operators become hostile towards the player. 

Testing the visual look of lens flares increasing in size when operators become hostile towards the player.